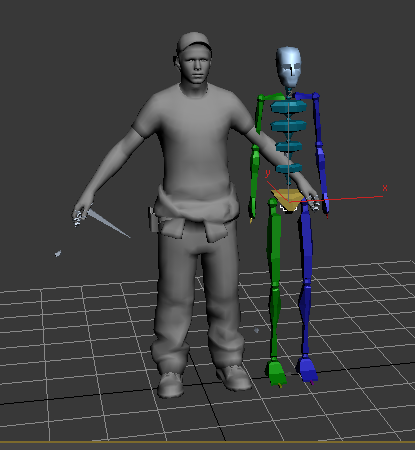
If you wish to create custom animations for a Source character, you will need to create a rig after decompiling the model. One easy way is to accomplish this is to use a biped with the model.
1) Decompile the model (if needed) and import into 3D Studio Max.
– TF2 models don’t need to be decompiled, the SMD files can be found in steamapps\username\sourcesdk_content\tf\modelsrc

2) Under the Create > Systems tab there will be a biped option. Make the biped about the same size as the character.

3) Turn on figure mode. [Pic]
– The “figure mode” button is located in the Motion panel. This needs to be enabled before you can alter the biped.
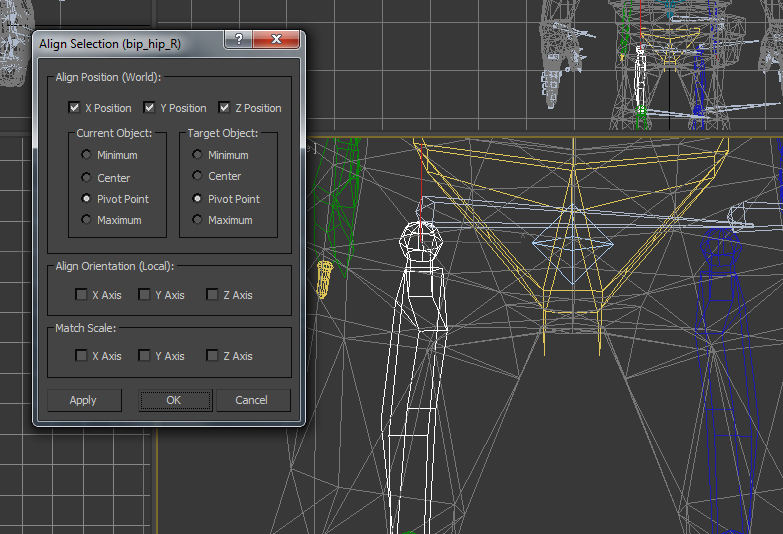
4) With the biped selected, use the align tool to center the biped to the character’s pelvis bone.
– F3 will toggle wireframe mode, which will make it easier to see what you’re doing.
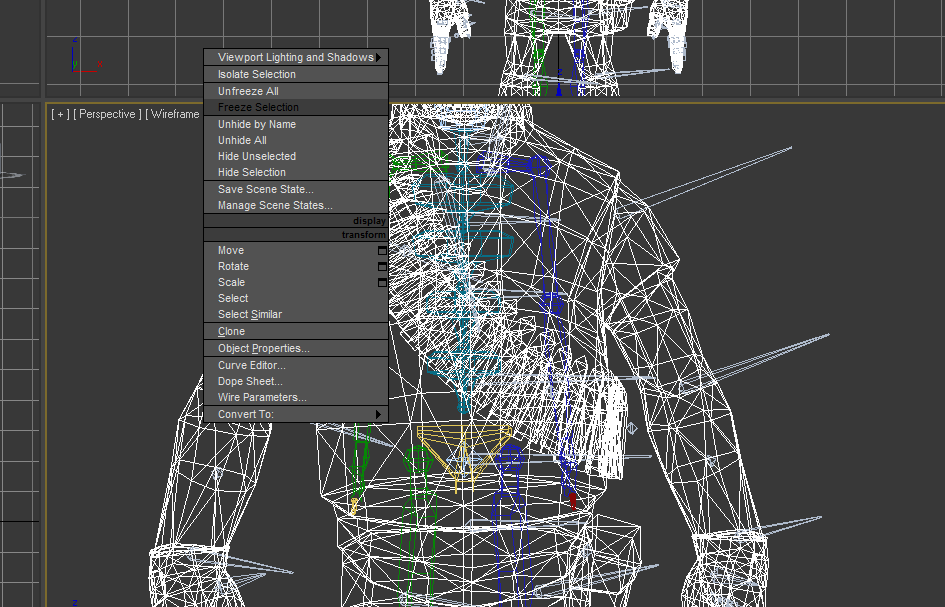
5) With the body mesh selected, right click the background and select “Freeze Selection”.
– This will make things easier to see and prevent you from accidentally moving the mesh.

6) Scale and align the biped bones to fit the character. The goal is to match the biped bones to the character’s bones, while making sure they stay in the middle of the mesh.
– Modify the biped structure settings as needed to match the character (number of fingers, number of spine links, etc). [Pic]
– Use the “Xtras” option for things such as the Demoman’s grenade vest or the Scout’s dog tags.
– Align things in the following order: legs, spine, head, arms, fingers.
– Make sure the biped bones are being aligned to the pivot point.

7) Use the link tool to link the character’s bones to the biped bones.
8) Turn off figure mode.
– Optional: Create a new layer and add all the Source model’s bones, then hide the layer.
Rigging through Scripting
An easier way to rig (in my opinion) is through the use of maxscript. You can find some of the example scripts I’ve made here.
This tutorial is largely based on this Youtube tutorial, although it has been adapted to use a biped (the Youtube video uses a CAT rig).